1 How to Add a Basic Border in Word2 How to Set Alternate Microsoft Word Border Styles and Formatting3 How to Insert a Border in Word for a Single Page4 How to Delete a Page in Word or Add Line Numbers
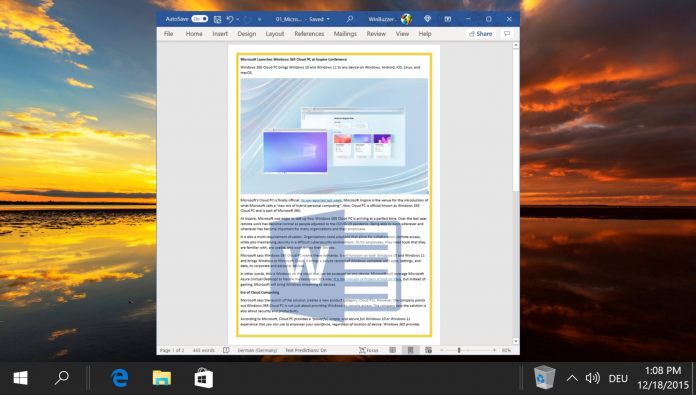
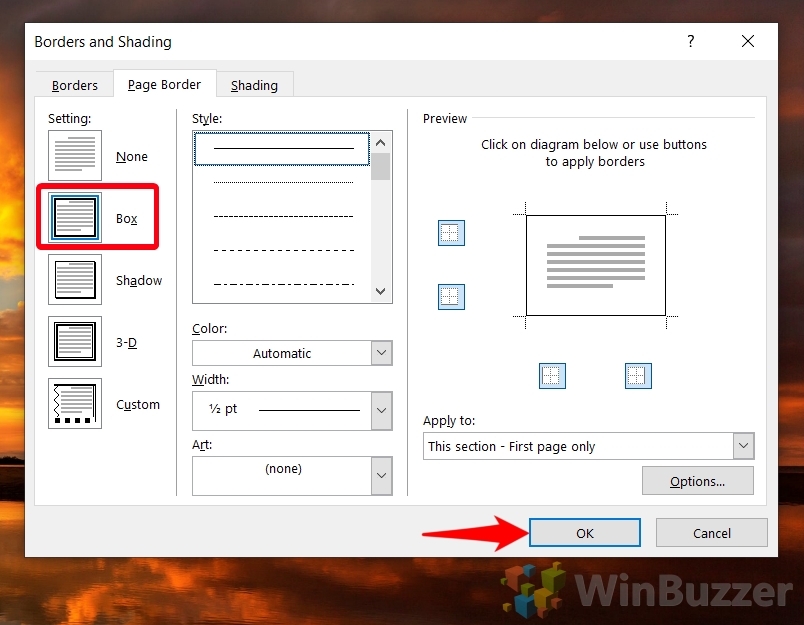
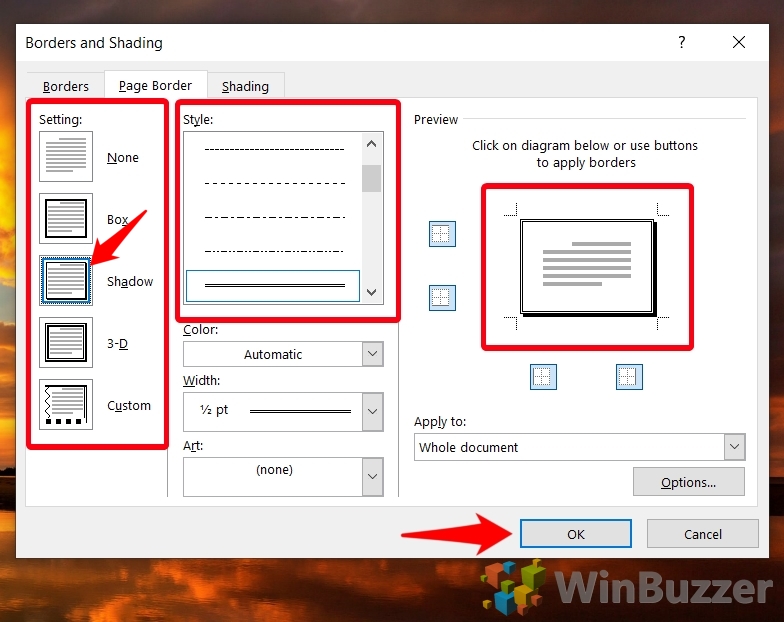
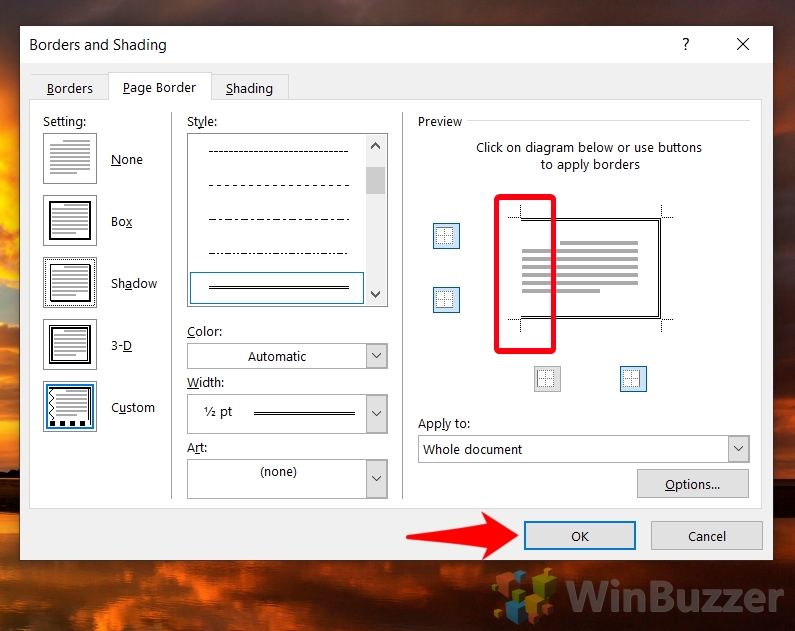
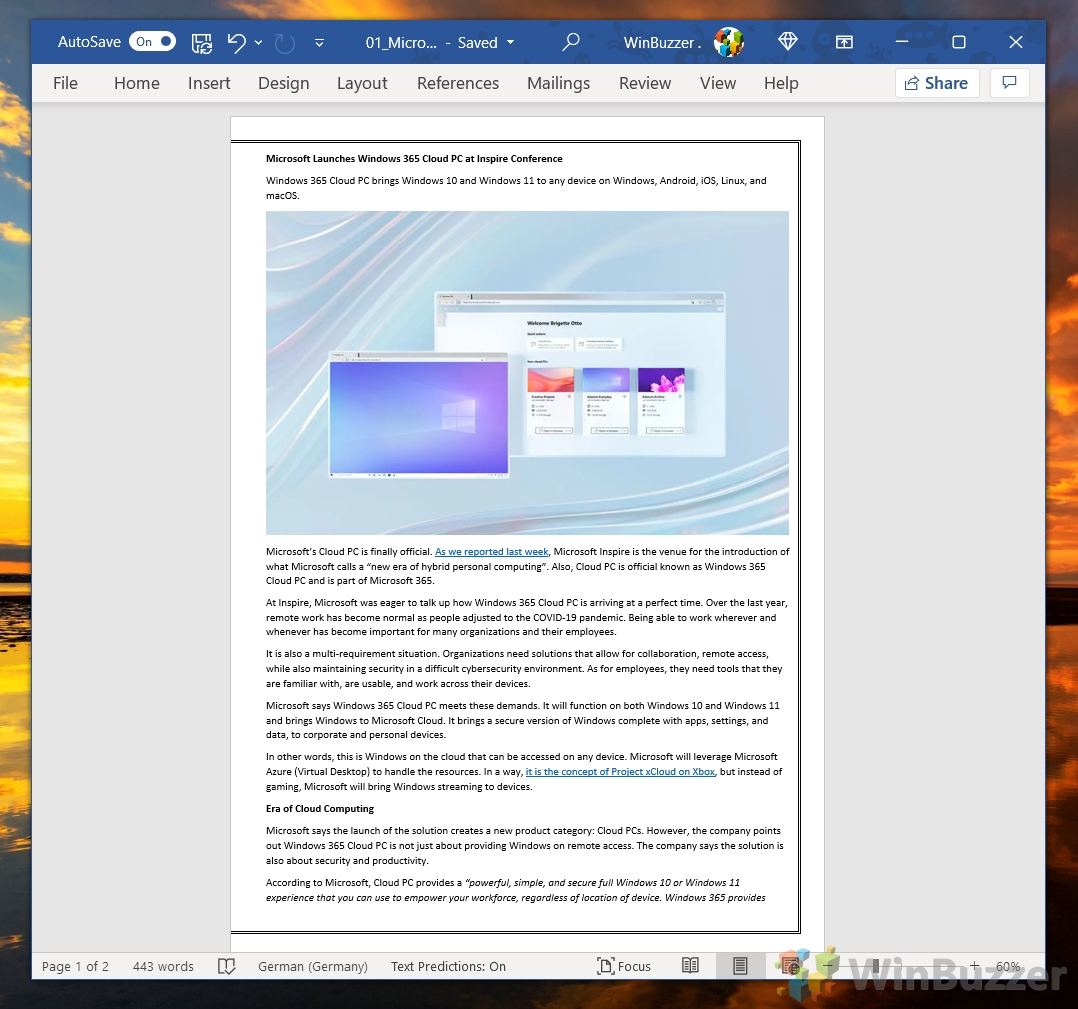
Setting page borders in Word differs by version The process to create Microsoft Word borders will vary slightly depending on your version. We’re going to assume you have an Office 365 subscription or Office 2019. If you have an older version, look to the layout or page layout tab instead. In newer versions of Word, there are three in-built page border variants: box, shadow, and 3-D. You can also set custom borders if you wish. The first is the most suitable for an enterprise setting, but the others can be a bit of fun. We’ll show you how to choose between them to suit your preference. Let’s get started:
How to Add a Basic Border in Word
How to Set Alternate Microsoft Word Border Styles and Formatting
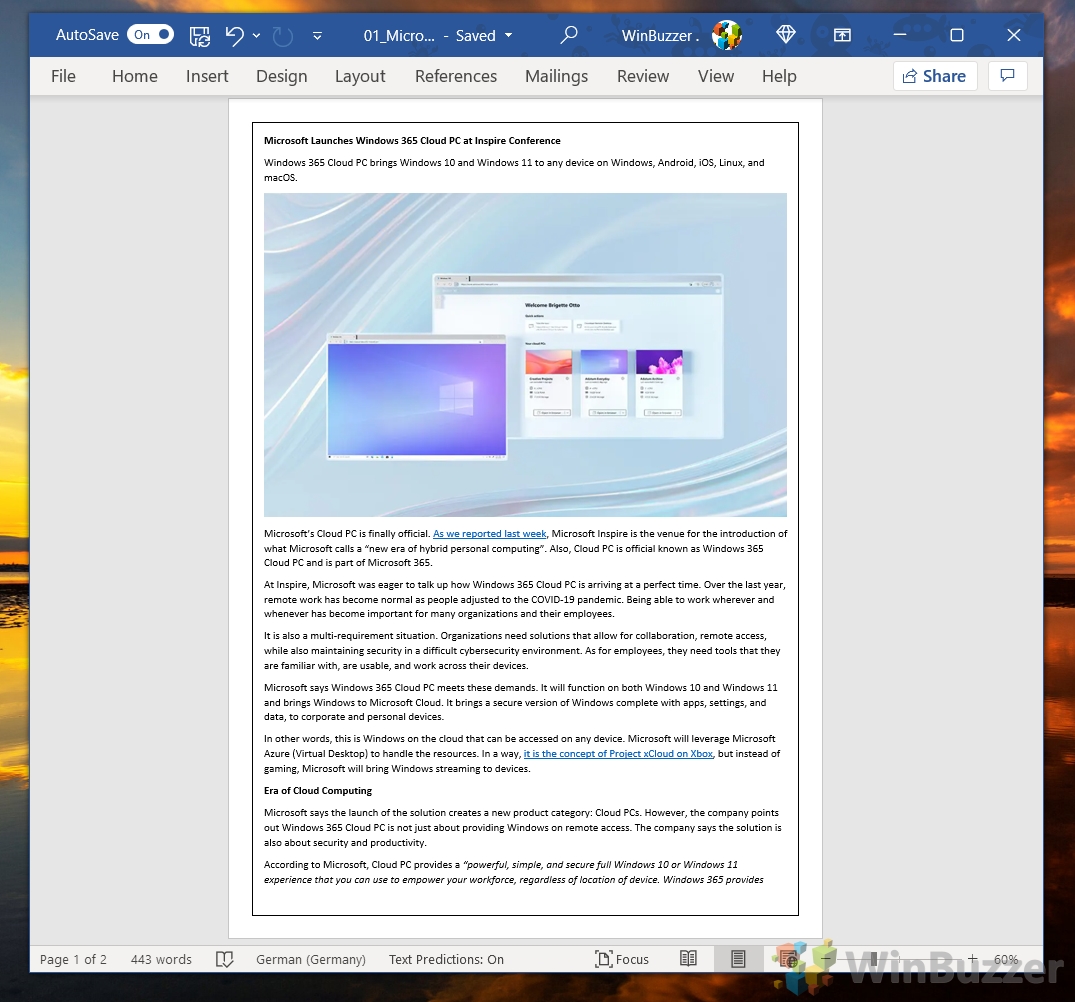
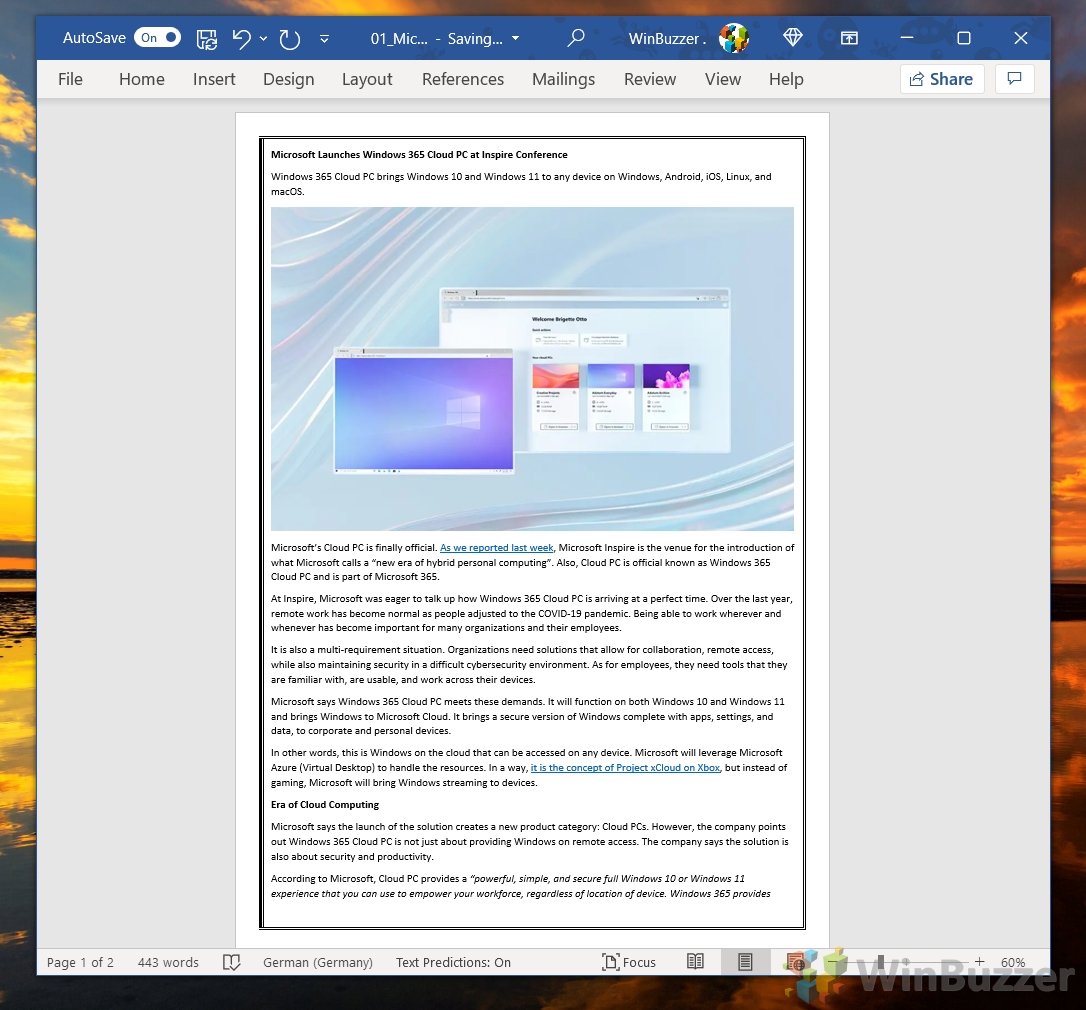
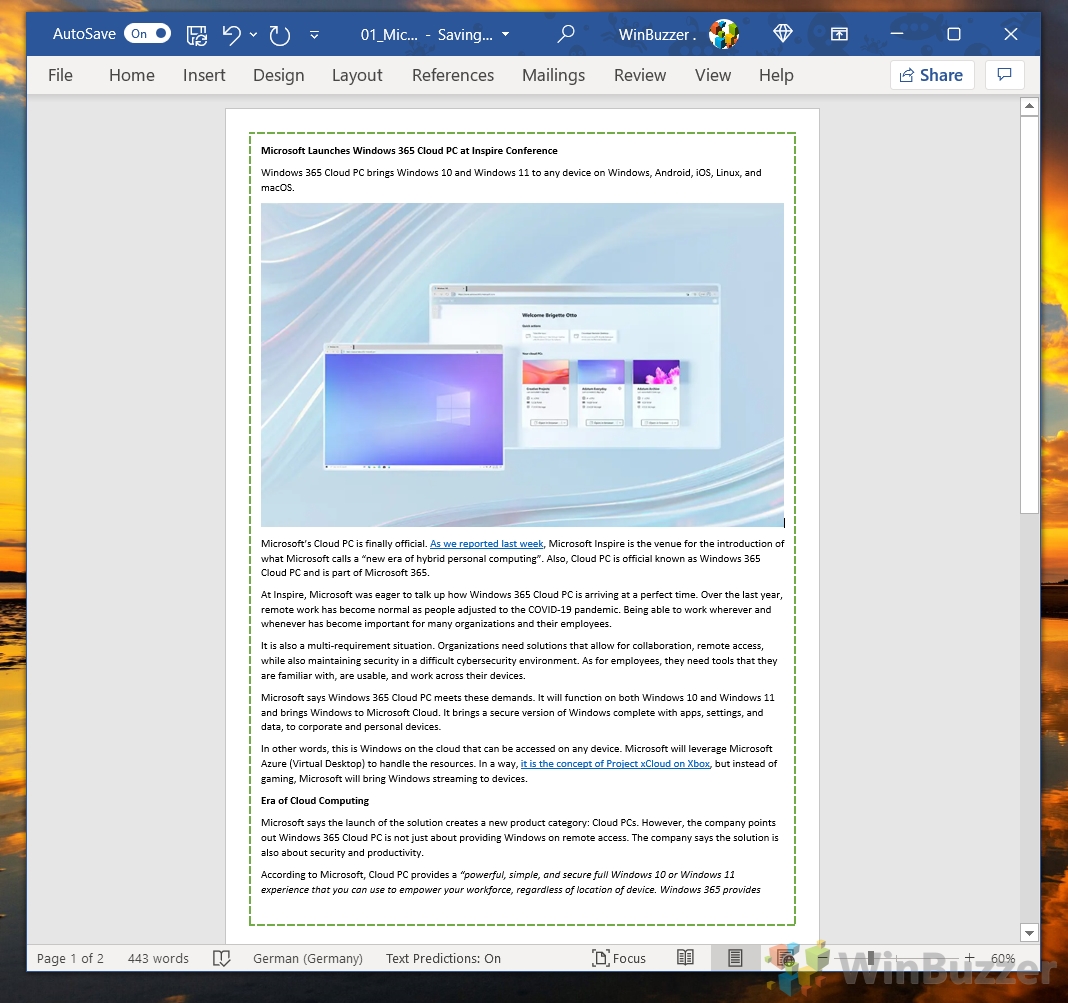
View your new border colour and width and adjust as necessary
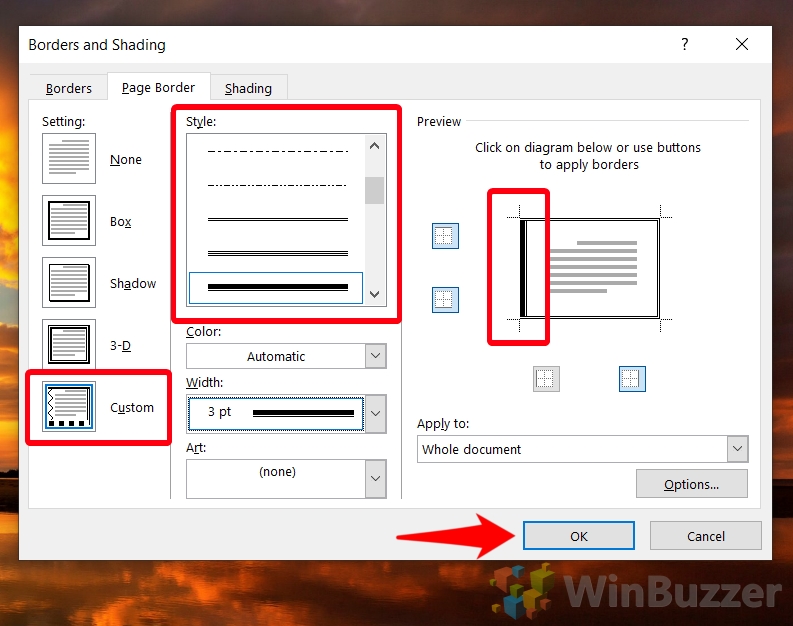
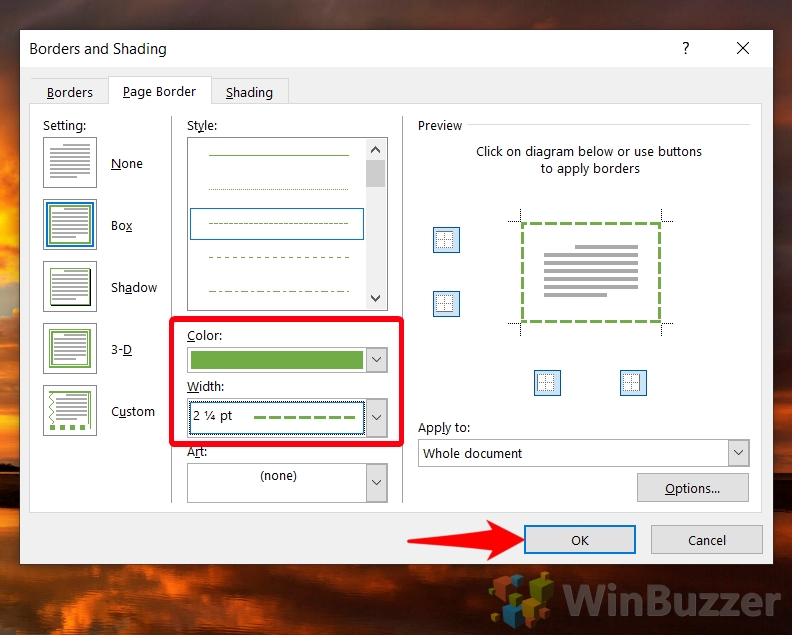
How to change the colour and width of page borders in Word If you have a dark document background or black is too boring, you can change your border color and width in the same menu. Click on the “Color” and “Width” dropdown to do so, then click “OK” to apply the changes. This works for both your border as a whole and a specific border line.
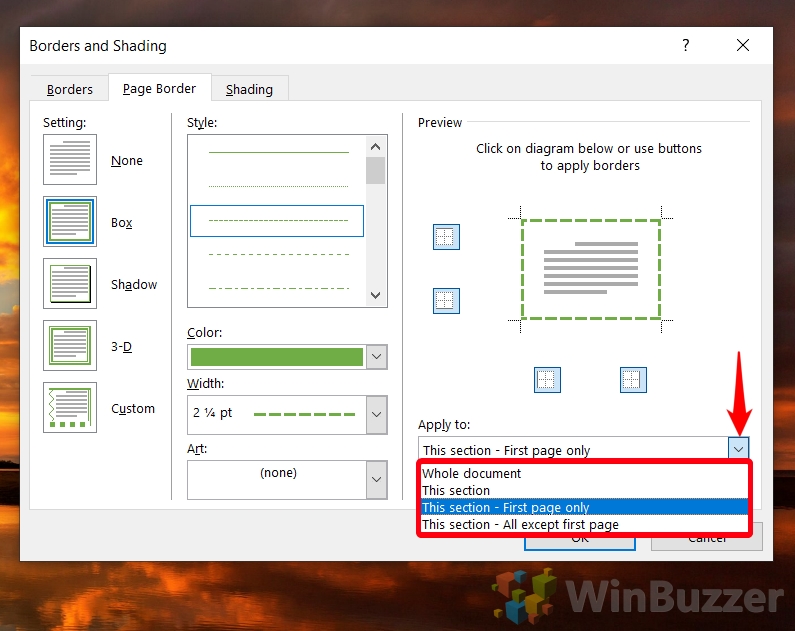
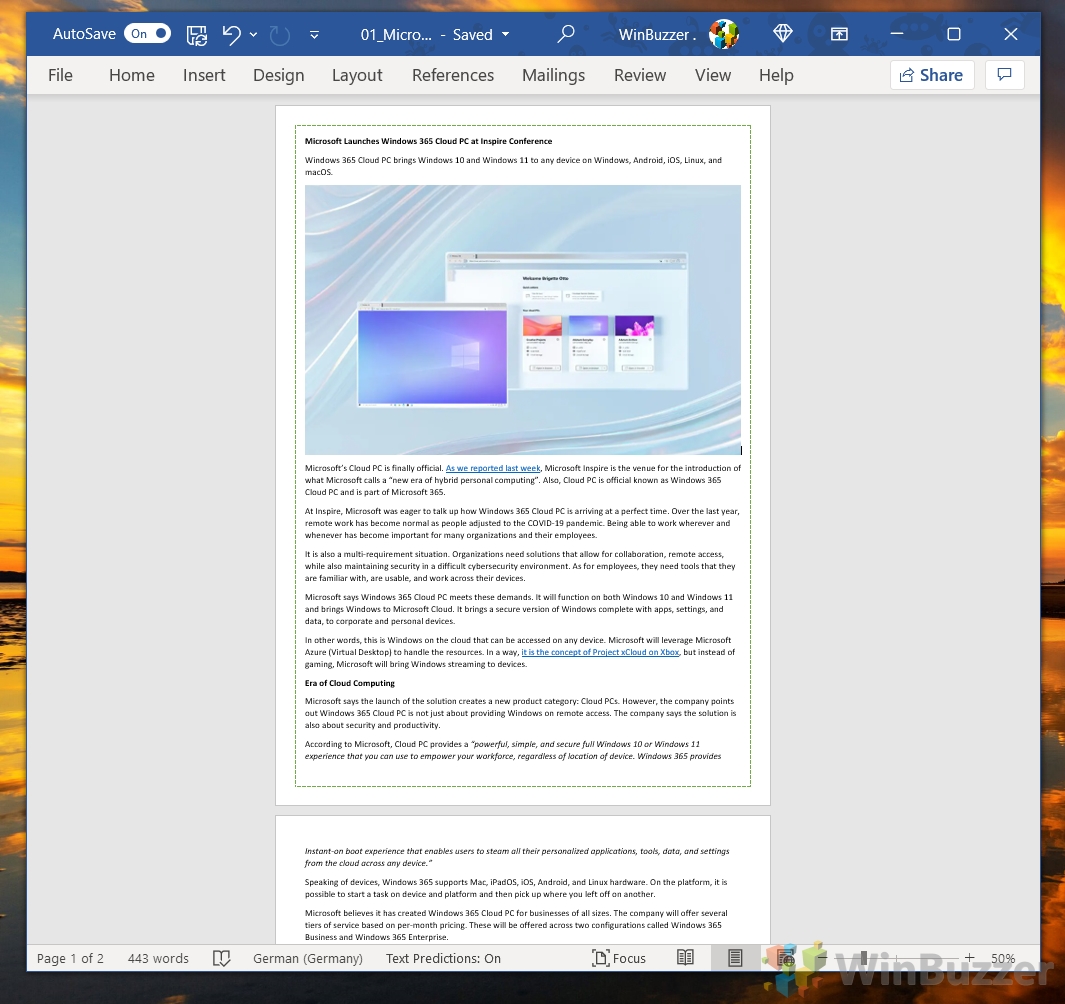
How to Insert a Border in Word for a Single Page
How to Delete a Page in Word or Add Line Numbers
Now that you’ve applied your borders, you may notice a blank page at the end of your document with a border around it. You can follow our how to delete a page in Word tutorial to remedy this. Press “OK” to apply the changes.
Or, if you want to make your document even more useful, why not learn how to add or remove line numbers? This way, readers can reference any part of your document with ease.
